How to Measure Kids Clothing Size in 5 Minutes
A practical, parent-friendly guide to choosing playful prints without compromising on comfort, fit or everyday wear.
Practical choices.
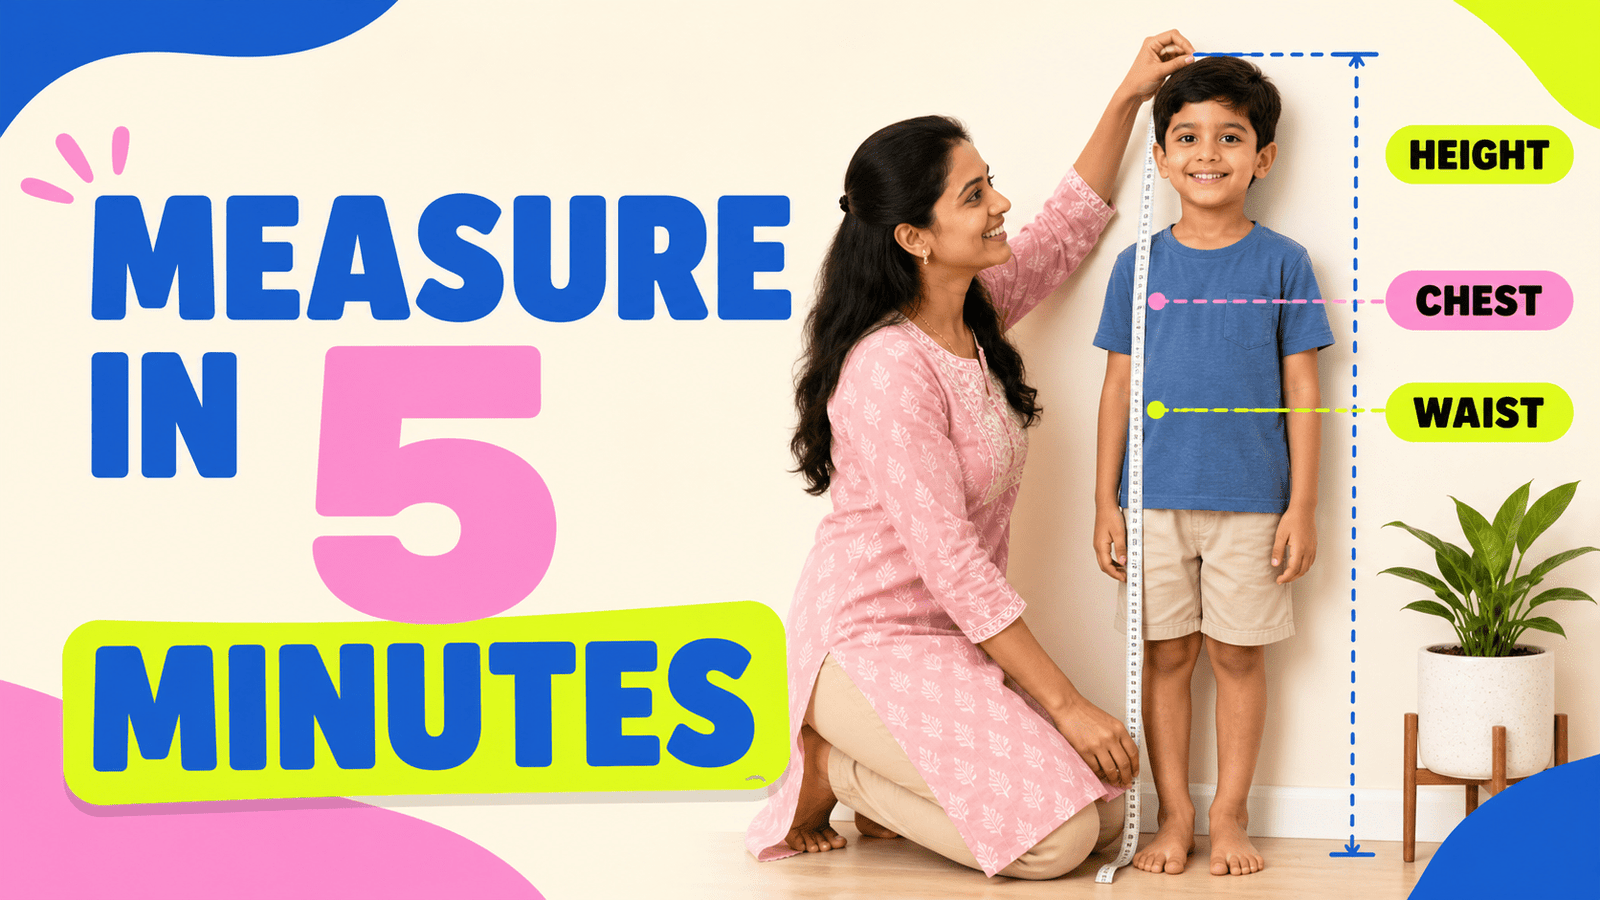
To measure a child for clothes, record height, chest, waist and—when buying bottoms—hip and inside-leg length in centimetres. Use a flexible tape over light clothing, keep it level without pulling tight, and compare the numbers with the size chart for the exact product. Age is a useful starting point, but current measurements are the better decision tool.
This five-minute method works for T-shirts, shorts sets, co-ord sets and pajama sets. It also helps when a child’s height and waist point to different sizes or when two brands use the same age label differently. Once the measurements are ready, use our Indian kids clothing size-chart guide to distinguish body measurements, finished-garment measurements and age labels before choosing a row.
What you need
- A flexible measuring tape marked in centimetres
- Light, close-fitting clothes rather than a thick outfit
- A wall, a flat floor and a book for checking height
- The current product size chart—not an old screenshot
- A note with the date, because children’s measurements change
Kids clothing measurements at a glance
| Measurement | How to take it | Most useful for |
|---|---|---|
| Height | Floor to the top of the head, standing straight without shoes | Overall size starting point |
| Chest | Around the fullest part of the chest, tape level and relaxed | T-shirts, tops and dresses |
| Waist | Around the natural waist without pulling the tape inward | Shorts and pajama waistbands |
| Hip/seat | Around the fullest part of the seat | Shorts and pajama movement room |
| Inside leg | Crotch seam area to the desired hem point | Full-length pajama bottoms |
| Shoulder width | Shoulder point to shoulder point across the back | Checking top proportions |
Step 1: Measure height correctly
Ask the child to stand without shoes, heels near the wall, looking straight ahead. Place a flat book on the head at a right angle to the wall, mark the lower edge and measure from the floor. Do not add “growing room” to the height number; the brand’s size chart should already translate body measurements into a garment size.
Height is especially helpful when an age label feels ambiguous. Two children of the same age may need different sizes, and one child may sit between two rows of a chart.
Step 2: Measure the chest
Wrap the tape around the fullest part of the chest and under the arms. Keep the tape parallel to the floor. The child should stand naturally and breathe normally. You should be able to slide a finger under the tape, but do not deliberately add several centimetres.
For a top, chest measurement is more useful than judging size from shoulder width alone. After choosing a size, also check the product’s intended fit: a relaxed top and a close-fitting top can have different garment measurements even when both are designed for the same body measurement.
Step 3: Measure the natural waist
Find the point where the torso bends when the child leans gently to one side. Wrap the tape around that level without compressing the body. For elastic-waist shorts, the number helps you judge whether the waistband range is likely to work; it does not tell you how firm the elastic will feel.
When the garment arrives, check comfort by asking the child to sit, squat and take a long step. A waistband should stay in place without leaving deep pressure marks or sliding down during normal movement. Use the full elastic-waistband fit and comfort check to inspect tension, width, casing, recovery and rise together.
Step 4: Measure the hip or seat
Measure around the fullest part of the seat with the tape level. This matters for shorts and pajama bottoms because waist size alone cannot show whether there is enough room through the rise, seat and thigh.
If the waist falls in one size and the hip falls in the next, prioritize the measurement that affects the tighter part of the specific garment. Check the exchange policy before ordering rather than assuming the larger age label will solve every fit issue.
Step 5: Measure the inside leg for pajamas
For full-length bottoms, measure from the crotch area down the inside of the leg to the desired hem point. Compare that result with the product chart if an inside-leg or garment-length measurement is provided. Excess fabric collecting under the heel is not useful growing room.
For a detailed arrival-day check, use our kids pajama fit guide.
Body measurements and garment measurements are different
A body measurement is taken around the child. A garment measurement is taken on the clothing itself. A T-shirt laid flat may show a half-chest measurement; doubling it gives the garment circumference, not the child’s chest size. The difference between the garment and body measurements creates wearing ease.
Never compare a flat garment width directly with a full body circumference. First confirm whether the chart labels a value as body size, garment size, half chest, chest circumference or width.
How to measure a favourite garment
If a well-fitting set is available, lay it flat without stretching and record:
- Top width from armpit to armpit
- Top length from the high shoulder point to the hem
- Shoulder width across the back
- Shorts waist across the top edge while relaxed
- Shorts rise from waistband to crotch seam
- Shorts or pajama length along the side seam
Compare like with like. A flat waist width cannot be compared with a stretched-waist range, and a dropped-shoulder top should not be judged like a regular shoulder.
What to do when measurements fall between sizes
- Check which measurement controls fit for that product.
- Read whether the fit is slim, regular, relaxed or oversized.
- Consider stretch and elastic recovery, but do not assume them from a photo.
- Compare with a garment the child already wears comfortably.
- Choose for comfortable wear now; do not create a trip hazard for future growth.
Our guide on choosing a kids shorts set explains how to combine measurements with waistband, seam and movement checks.
A Tiny Bee sizing example
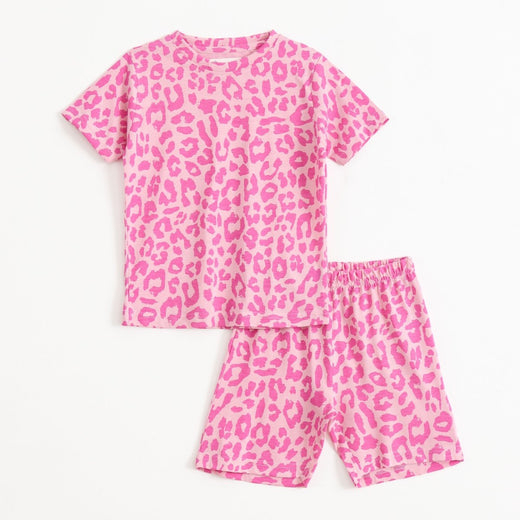
The Pink Leopard Shorts Set was listed in sizes 1–2 through 7–8 when this guide was prepared. Those labels are navigation aids, not substitutes for the current chart. Confirm the live size selector and product information before ordering because stock and product details can change.
For an age-specific example after measuring, see our fit-first guide to clothes for 4-, 5- and 6-year-olds. It shows why the child’s current measurements and the exact garment dimensions matter more than the age label alone.
Frequently asked questions
Should I measure over clothes?
Use light clothing or underwear where appropriate. Thick layers can add bulk and make chest, waist and hip readings less useful.
How tight should the measuring tape be?
The tape should touch the body without digging in or hanging loose. Keep it level and allow normal breathing.
Is age or height better for kids clothing size?
Age is a quick category label. Height plus chest, waist and relevant garment measurements usually provides a more specific comparison.
How often should I remeasure?
Remeasure when the fit of current clothes changes, before a seasonal purchase, or when the last measurements are no longer recent enough to trust.
Should I always size up?
No. A larger size may add unwanted length or loosen the waistband. Compare the exact chart and intended fit before deciding.
Explore A Tiny Bee shorts sets and use the current product page to verify size, price and availability.
Bring the guide to life
Only currently available products are shown. Sizes and stock update live.